Today, I’m going to show you how use brushes, custom shapes and Layer styles in Adobe Photoshop CS5 to create wonderful lighting effect for posters. Layered PSD file included. Let’s get started!
Final Image Preview
Image may be NSFW.
Clik here to view.
Start working by creating a new document (Ctrl+N) in Adobe Photoshop CS5 with the size 1000px by 1000px (RGB color mode) at a resolution of 72 pixels/inch. Click on Add a layer style icon from bottom part of the Layers panel and select Gradient Overlay.
Image may be NSFW.
Clik here to view.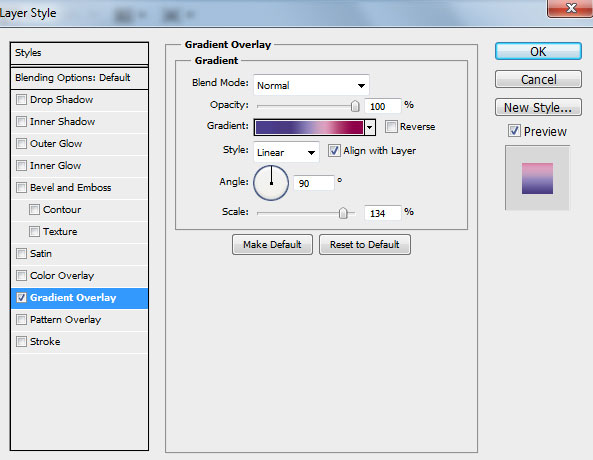
Click in the color bar to open the Gradient Editor and set the color stops as shown. Click OK to close the Gradient Editor dialog box.
Image may be NSFW.
Clik here to view.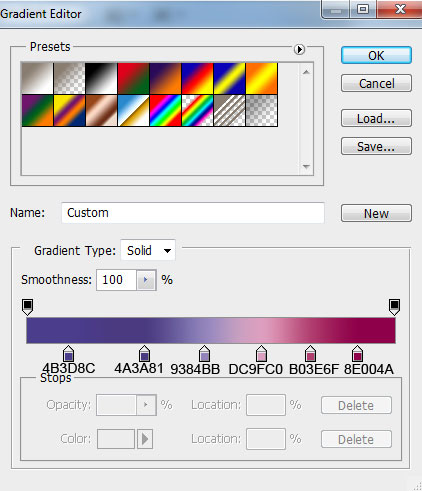
We’ve got the next background:
Image may be NSFW.
Clik here to view.
Next select the Ellipse Tool (U) to create a small ellipse:
Image may be NSFW.
Clik here to view.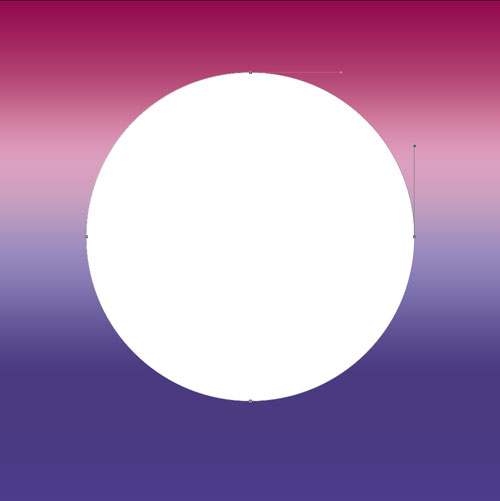
Insert the mask on the last made layer by choosing Add layer mask on the bottom part of the Layers panel and choose the Soft Round brush of black color (set Opacity to 20% in Options bar).
Image may be NSFW.
Clik here to view.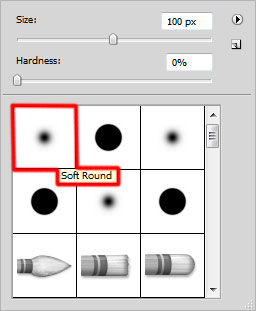
Paint in the mask using this brush to hide out the ellipse layer on those four shown zones.
Image may be NSFW.
Clik here to view.
Create a new layer under the last made one and select the Soft Round brush of white color this time (brush Opacity – 30%):
Image may be NSFW.
Clik here to view.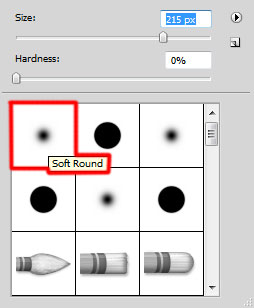
Use this brush to paint out the same way indicated below:
Image may be NSFW.
Clik here to view.
Set the Blending mode for this layer to Overlay.
Image may be NSFW.
Clik here to view.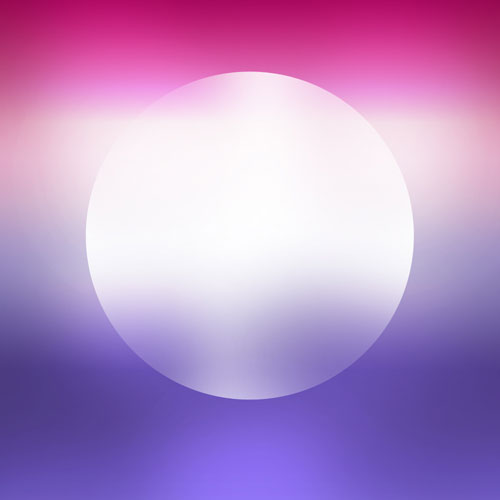
Insert the mask on the layer by choosing Add layer mask on the bottom part of the Layers panel and choose the Soft Round brush of black color (set Opacity to 20% in Options bar).
Image may be NSFW.
Clik here to view.
Paint in the mask using this brush to hide out the bottom part of the layer.
Image may be NSFW.
Clik here to view.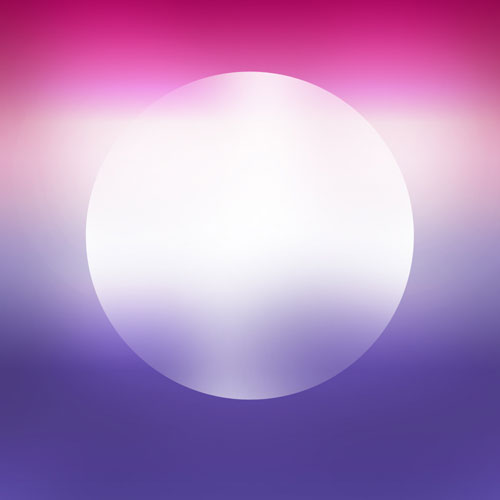
Select the Ellipse Tool (U) to represent a ellipse, which layer should be placed above the previous made ellipse.
Image may be NSFW.
Clik here to view.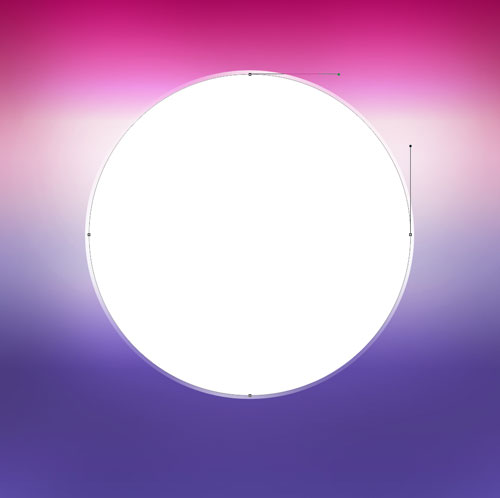
Click on Add a layer style icon from bottom part of the Layers panel and select Inner Shadow.
Image may be NSFW.
Clik here to view.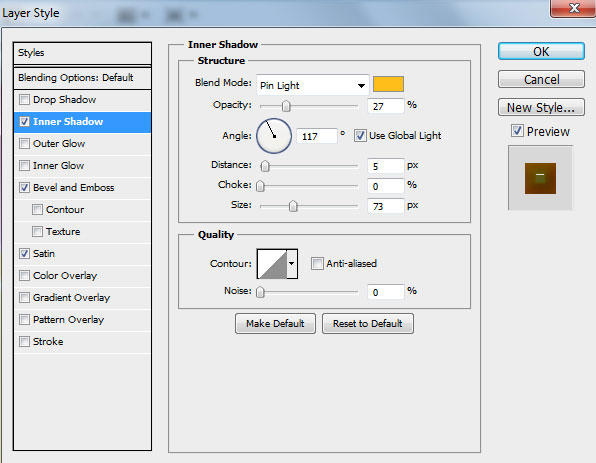
Add Bevel and Emboss:
Image may be NSFW.
Clik here to view.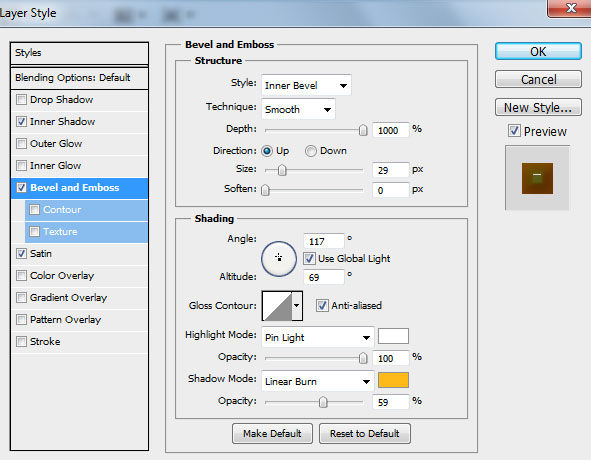
Apply Satin:
Image may be NSFW.
Clik here to view.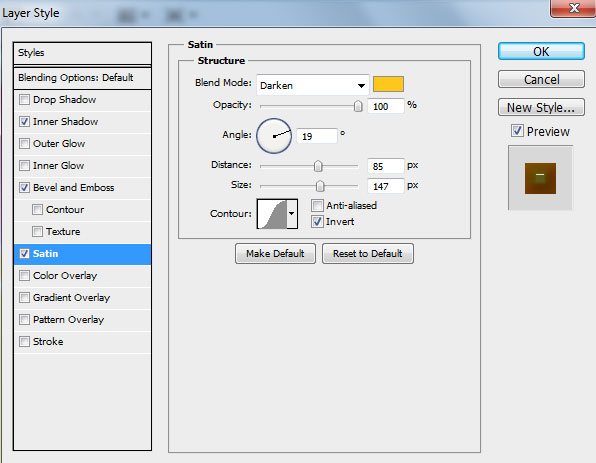
We’ve got the next result:
Image may be NSFW.
Clik here to view.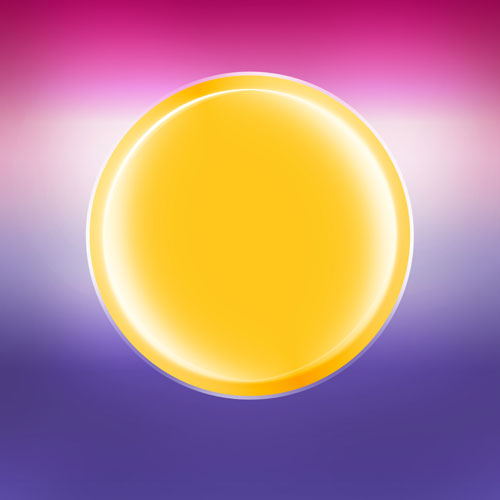
Using the same tool, we should represent another ellipse of the color #FFC013.
Image may be NSFW.
Clik here to view.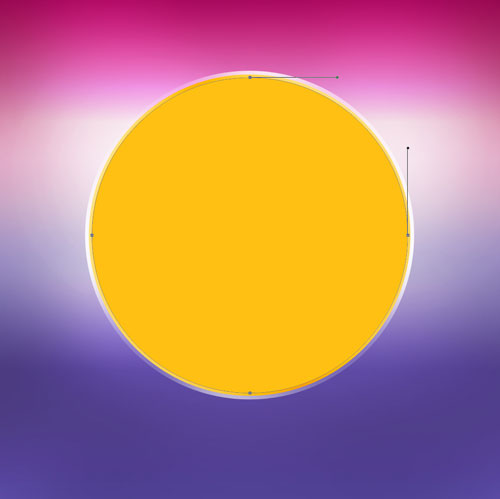
Right-click and select on the layer containing the previous made circle the Copy Layer Style options, right-click on the recently made one in Layers panel to select Paste Layer Style.
Image may be NSFW.
Clik here to view.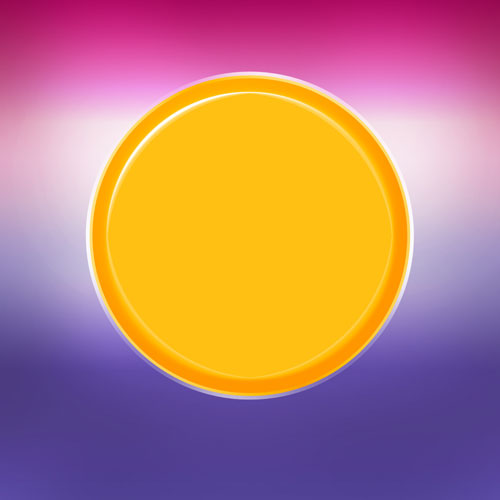
Next we can represent the rays’ elements of the color #FFDE1B. Select the Custom Shape Tool (U) in the Tools bar, in the Options bar click the Shape to open the selection menu. Find Registration Target 2 at the bottom of the menu, and then double-click a shape thumbnail to select it.
Image may be NSFW.
Clik here to view.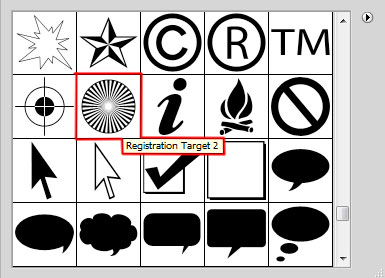
Click and drag to draw the shape. Select the inside anchor points with the Direct Selection Tool (A) (holding SHIFT button). Then choose the Free Transform (Ctrl+T) command (set Maintain Aspect Ratio) to unite them on the central part.
Image may be NSFW.
Clik here to view.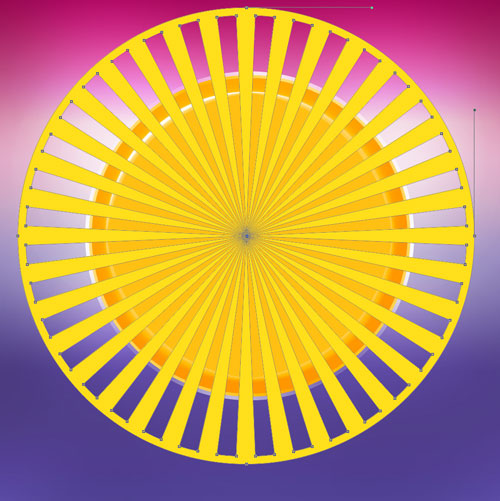
Hold down Alt (Windows) or Option (Mac OS) and click between the rays’ layer and the ellipse’s one in the Layers panel to create a clipping mask.
Image may be NSFW.
Clik here to view.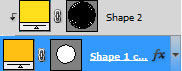
We’ve got the next result:
Image may be NSFW.
Clik here to view.
Find a stock photo with a model represented on it, I used this photo from Shutterstock. I would like to thank the author of this photo, or if you prefer, you can substitute similar image of your own.
Image may be NSFW.
Clik here to view.
Remove the background using your favorite tools like Pen Tool (P), Magic Wand Tool (W), Magnetic Lasso (L) or even a simple Filter>Extract and insert it on a new layer in our main document.
Image may be NSFW.
Clik here to view.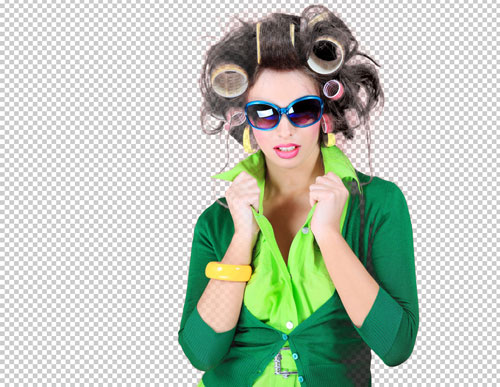
Put the model’s photo on the main document now:
Image may be NSFW.
Clik here to view.